Some of you may remember a few weeks ago, I talked a bit on InstaStories about feeling so excited to attend a friend’s birthday barbecue… Only to wake up to 40’F weather! My Toaster Sweater came to the rescue that day, but I came home dreaming of warmer weather and this top for cook-outs over the summer.

I originally picked this fabric out from IndieSew during Sew My Style Kalle month, after seeing so many beautiful navy and ivory striped button-ups while searching for inspiration. When I ended up going a completely different direction with my Kalle, I held on to this and debated whether I wanted to go along with a Kalle dress or something altogether different. So a few weeks later, when Arielle from Seen & Sewn Patterns asked if I’d be interested in sewing up her patterns, I knew EXACTLY what this fabric wanted to be! (PS – If you’d like a bit more information about Seen & Sewn patterns, see my previous post about sewing up their Cozy Cardigan here.)

I printed, cut, and taped this pattern together without any issues. As I cut out the pattern pieces, I had to make sure to stay organized – this pattern has a couple of small pieces that really make the unique design of the top, but also seemed like they could so easily get accidentally set aside with my recycling pile!
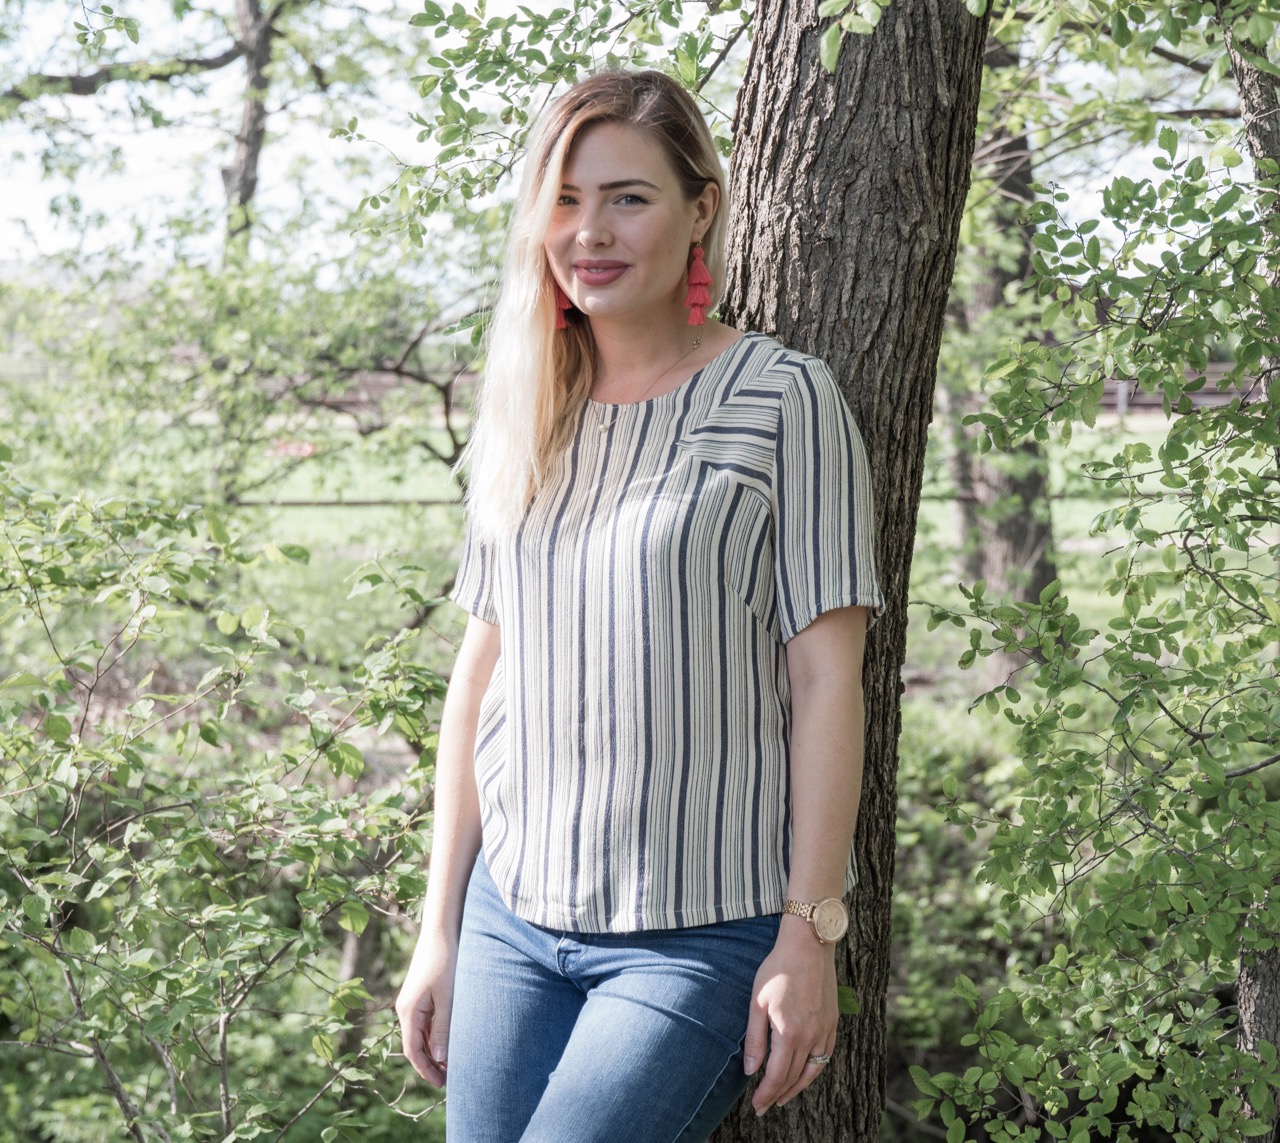
I decided to go with Version 1, the full length blouse, with the elbow length sleeves. I went with the size medium, but as with the Cozy Cardigan, probably should have stuck with the small. In the end, when trying on the top before the final hemming, I was not sure that the length was flattering on me. It was a bit blousey in the belly area, and looked a bit like an (unintentional!) maternity top. The yarn dyed rayon challis that I used is very soft and drapey, and probably contributed a bit to this issue. In the end, I left the top to hang on my mannequin for a few days before going back and taking some length off of the bottom. I didn’t go quite a short as the cropped length included in the pattern, but ultimately did away with the cute curved edges along the bottom, and straightened it out right at my hip.

My only issue when constructing this pattern was that after sewing the bust dart as noted on the pattern pieces, the bodice below the dart came out about an inch further on the sides than the area above the darts. Luckily, I’d cut a size bigger than necessary, so I simply trued this area by using a straightedge, lining it up with the side above the dart, and cutting the excess fabric for about 2 inches below the dart until I lined it back up with the existing side. (If any of this does not make sense, please feel free to leave a comment or shoot me an email and I can provide a better and / or illustrated description!)

I think this pattern paired with this fabric is going to be great for summer. It is the perfect light and breezy top. I constructed the top on my sewing machine, and chose to finish all seams with my serger to prevent this lightweight fabric from fraying and getting away from me! The neck is a bit higher than I normally wear, but I think it suits the top quite well. I am looking forward to getting a great deal of wear out of this top over the summer.

If you haven’t already, check out Seen & Sewn patterns – I’ve linked directly to their purchase page for this pattern below. Arielle is a new pattern creator, and is putting some lovely things out into the world. I am looking forward to seeing what she comes up with next!

Top: Pins & Pinot – Handmade by Me!
Fabric: Rayon Challis – Yarn Dyed Stripe – IndieSew (now sold out)
Pattern: Seen & Sewn Patterns – Tracy Bee Swing Top
Though the pattern used in this post was provided to me by Seen & Sewn Patterns, all opinions expressed are my own, as always!

- XX Elizabeth